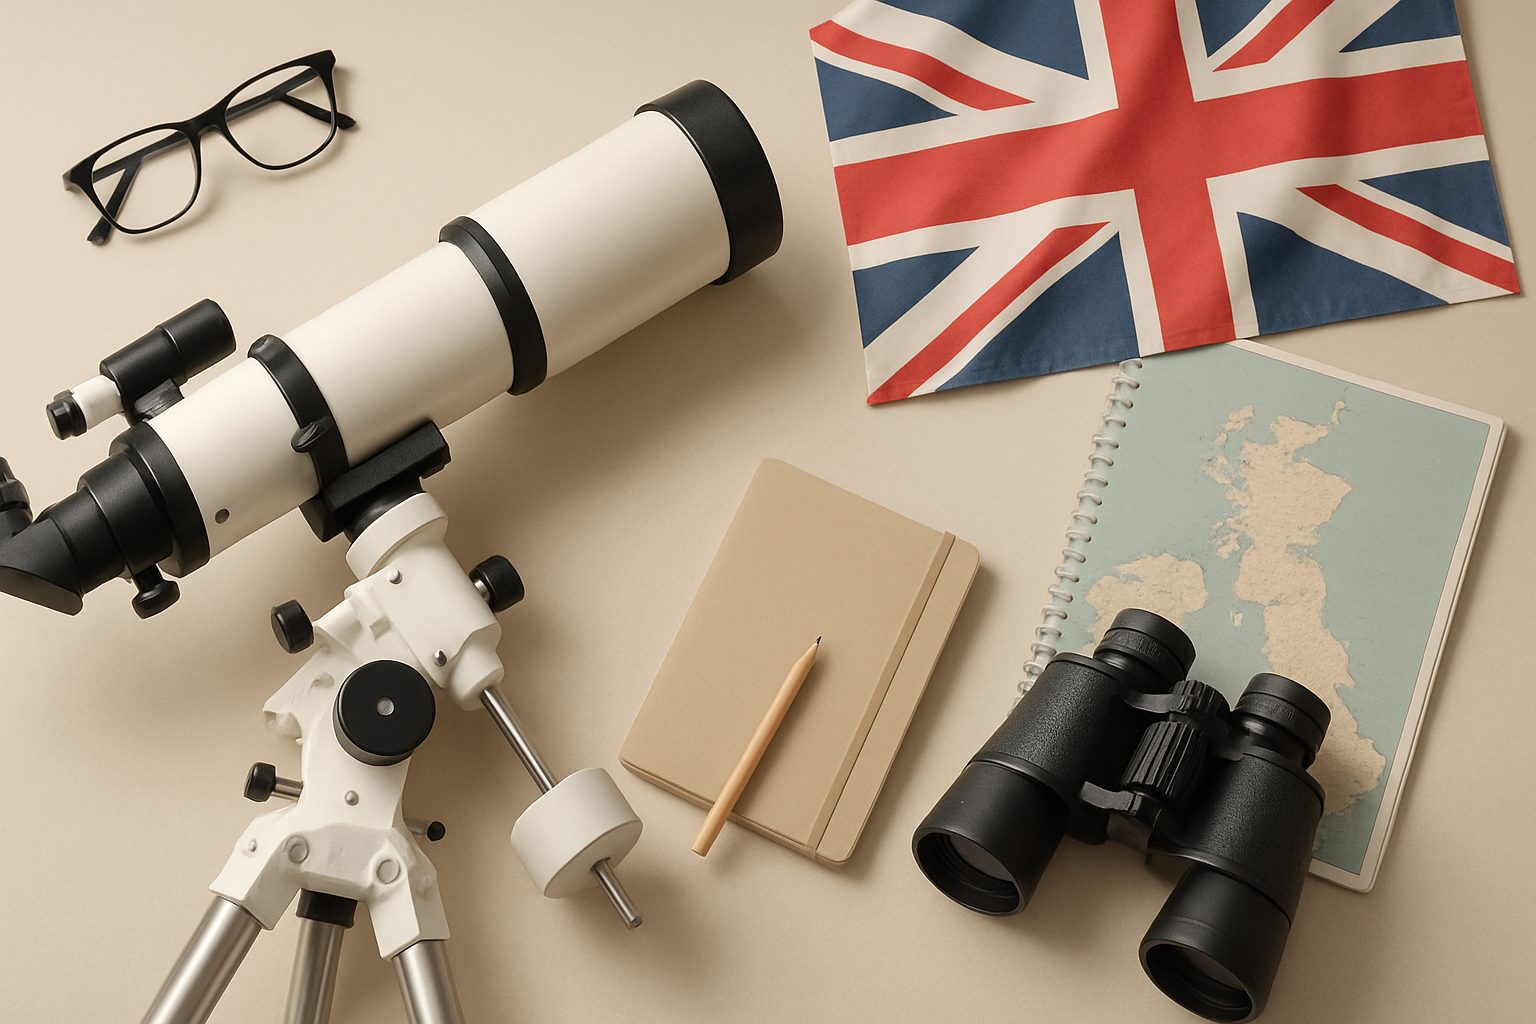
How to Balance Your Telescope Mount for Astrophotography: The Complete Guide
Proper balancing of your telescope mount is one of the easiest wins in astrophotography, yet it's often overlooked by beginners. An unbalanced mount struggles to track accurately, causes motor strain, and can produce vibration that ruins long-exposure images. Whether you're using a HEQ5 Pro, EQ6-R Pro, or any equatorial mount, getting the balance right transforms tracking precision and extends your equipment's lifespan.
Why Balancing Matters
When your telescope and imaging train are unbalanced, the mount's motors work constantly to fight gravity rather than simply holding position. This causes several problems: tracking errors accumulate during your imaging run, slew speeds become sluggish, and the motors generate heat, potentially triggering thermal shutdowns on cold nights. Over time, the excess stress degrades motor brushes and gearbox components.
For astrophotography specifically, even tiny tracking errors compound over 30-minute exposures. A mount that's off-balance by just a few hundred grams can introduce star trailing or elongation that ruins your best frames.
Understanding RA and Declination Axes
Equatorial mounts have two separate balancing requirements. The Right Ascension (RA) axis runs east-west and controls your mount's rotation around the celestial pole. The Declination (Dec) axis runs north-south and adjusts altitude above the horizon.
Both axes must balance independently. Think of the RA axis like balancing a bicycle wheel: the heavy side naturally rotates downward if not counterweighted. Similarly, your camera, guide scope, and imaging train pull the Dec axis down and to one side.
Step-by-Step Balancing Process
Balancing the RA Axis
Start with your mount pointing east, parallel to the horizon. Remove counterweights entirely or shift them fully inward toward the mount head. Loosen the RA motor clamp or (if your mount has one) engage the Dec lock to prevent unwanted motion.
Slowly release the RA axis. A properly balanced mount stays put. If the tube assembly rotates west, you need more counterweight mass. If it rotates east, you have too much mass. Add weight incrementally—counterweight stacks are often adjustable, or you can add lead weights taped below the existing counterweights.
Check balance at three different positions: pointing east, meridian, and west. Some mounts exhibit slight variations depending on orientation, and that's normal within a few millimetres of adjustment. Aim for the mount to stay stationary when gently nudged.
Balancing the Dec Axis
This one matters more for heavily loaded imaging trains. Your telescope, camera, guide scope, and filter wheel all pull the Dec axis downward and typically toward the east.
With the mount pointing south (home position), unlock the Dec axis and again slowly release it. The tube will tip toward whichever direction needs counterweight. Most equatorial mounts use a counterweight system on the opposite side of the tube rings. If your mount has sliding rings or weighted bars, shift them away from the heavy side.
Perform this check with the mount pointing several directions: south, east, west, and north. Dec balance becomes more critical as you tilt toward the pole (higher Dec values), because gravity's leverage on the tube increases. A balanced mount at the south meridian should stay balanced at Polaris.
Critical tip: Always unlock the axis gently by hand first, and stand to the side. Never trust that a guide star will catch a dropping tube.
Payload Capacity and Safety Margins
Never load your mount right up to its listed payload capacity. Most manufacturers specify the absolute maximum—the point at which the motors can still move the scope, but not where the mount operates well.
For the HEQ5 Pro (15 kg payload) or EQ6-R Pro (30 kg payload), plan to use no more than 75–80% of rated capacity for astrophotography. A fully loaded imaging train (mount, scope, camera, guide scope, filters, auto-focuser) easily totals 8–12 kg on a mid-size Newtonian or refractor. Adding a second imaging train or large guide scope quickly pushes you into the danger zone.
Underloading your mount by 5 kg gives you several advantages: smoother tracking, faster slews, less vibration, better thermal stability, and years of extra motor life. It also gives you headroom for upgrading equipment without overhauling your entire setup.
Common Mistakes
Balancing too tightly. You don't need perfect balance to the gram. Aim for "the mount doesn't move under its own weight"—a tolerance of ±200 grams is entirely acceptable and easier to achieve in practice.
Forgetting to rebalance after equipment changes. Swapped your camera for a heavier one? Your balance changed. Moved the guide scope? Rebalance. Spend five minutes checking every time you alter the imaging train.
Ignoring Dec balance because the RA feels good. Both axes matter equally, and they interact. Poor Dec balance forces the RA axis to work harder, degrading overall performance.
Assuming your counterweights are correct. Factory-supplied counterweights are often generic. You may need to add custom weights or reposition existing ones. Stainless-steel ball bearings, lead tape, or tungsten weights are inexpensive solutions.
Testing balance only when the mount points south. Test at multiple positions, especially pointing high in the sky, where imbalance is most obvious.
Conclusion
Balancing a telescope mount takes 10–15 minutes and requires no tools beyond what you already own. The payoff—steadier tracking, longer equipment life, and noticeably better image quality—is massive. Whether you're running a modest four-inch refractor on a HEQ5 Pro or a full imaging suite on an EQ6-R Pro, proper balance is non-negotiable for serious astrophotography. Make it part of your setup routine before every observing session, and your results will improve immediately.
More options
- Sky-Watcher HEQ5 Pro SynScan EQ Mount (Amazon UK)
- Sky-Watcher EQ6-R Pro SynScan EQ Mount (Amazon UK)
- Celestron Advanced VX GoTo EQ Mount (Amazon UK)
- Sky-Watcher AZ-GTi GoTo Alt-Azimuth Mount (Amazon UK)
- Sky-Watcher Star Adventurer 2i Pro Pack (Amazon UK)